
Product Description
Product Description
COUPLINGS
| HRC | FCL | Chain coupling | GE | L | NM | MH | Torque limiter |
| HRC 70B | FCL90 | KC4012 | GE14 | L050 | NM50 | MH45 | TL250-2 |
| HRC 70F | FCL100 | KC4014 | GE19 | L070 | NM67 | MH55 | TL250-1 |
| HRC 70H | FCL112 | KC4016 | GE24 | L075 | NM82 | MH65 | TL350-2 |
| HRC 90B | FCL125 | KC5014 | GE28 | L090 | NM97 | MH80 | TL350-1 |
| HRC 90F | FCL140 | KC5016 | GE38 | L095 | NM112 | MH90 | TL500-2 |
| HRC 90H | FCL160 | KC6018 | GE42 | L099 | NM128 | MH115 | TL500-1 |
| HRC 110B | FCL180 | KC6571 | GE48 | L100 | NM148 | MH130 | TL700-2 |
| HRC 110F | FCL200 | KC6571 | GE55 | L110 | NM168 | MH145 | TL700-1 |
| HRC 110H | FCL224 | KC8018 | GE65 | L150 | NM194 | MH175 | |
| HRC 130B | FCL250 | KC8571 | GE75 | L190 | NM214 | MH200 | |
| HRC 130F | FCL280 | KC8571 | GE90 | L225 | |||
| HRC 130H | FCL315 | KC1571 | |||||
| HRC 150B | FCL355 | KC12018 | |||||
| HRC 150F | FCL400 | KC12571 | |||||
| HRC 150H | FCL450 | ||||||
| HRC 180B | FCL560 | ||||||
| HRC 180F | FCL630 | ||||||
| HRC 180H | |||||||
| HRC 230B | |||||||
| HRC 230F | |||||||
| HRC 230H | |||||||
| HRC 280B | |||||||
| HRC 280F | |||||||
| HRC 280H |
Catalogue
Workshop
Lots of coupling in stock
FAQ
Q1: Are you trading company or manufacturer ?
A: We are factory.
Q2: How long is your delivery time and shipment?
1.Sample Lead-times: 10-20 days.
2.Production Lead-times: 30-45 days after order confirmed.
Q3: What is your advantages?
1. The most competitive price and good quality.
2. Perfect technical engineers give you the best support.
3. OEM is available.
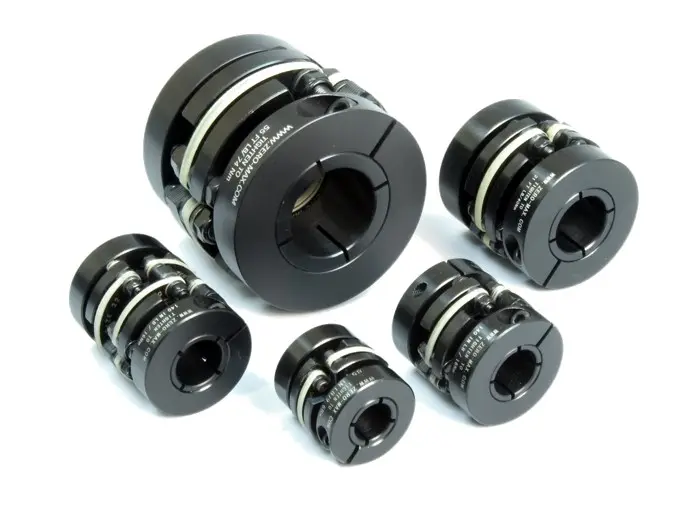
Is it Possible to Replace a Motor Coupling Without Professional Assistance?
Yes, it is possible to replace a motor coupling without professional assistance, but it requires some mechanical knowledge and proper tools. Here are the steps to replace a motor coupling:
1. Safety First:
Before attempting any maintenance or replacement, ensure the motor and driven equipment are turned off and disconnected from the power source to prevent accidents.
2. Identify the Coupling Type:
Determine the type of motor coupling currently installed in the system. Different coupling types may have slightly different installation methods.
3. Gather Necessary Tools:
Collect the necessary tools, such as wrenches, socket set, screwdrivers, and any other specific tools required for the particular coupling type.
4. Remove Fasteners:
Loosen and remove the fasteners that secure the coupling to the motor and driven equipment shafts. Keep track of the fasteners to ensure they are reinstalled correctly.
5. Disconnect the Coupling:
Disconnect the coupling from both the motor and driven equipment shafts. Depending on the coupling type, this may involve sliding the coupling off the shafts or unbolting it from the flanges.
6. Inspect the Coupling:
Inspect the old coupling for signs of wear, damage, or misalignment. This assessment will help determine if the coupling replacement is necessary.
7. Install the New Coupling:
Place the new coupling onto the motor and driven equipment shafts, ensuring it fits properly and aligns with any keyways or grooves.
8. Reattach Fasteners:
Tighten and secure the fasteners to hold the new coupling in place. Follow the manufacturer’s recommended torque values for the specific coupling model.
9. Perform Trial Run:
Before full operation, perform a trial run to check the coupling’s performance and ensure everything is working correctly. Monitor for any abnormal vibrations or noises.
10. Regular Maintenance:
After replacement, follow regular maintenance practices to inspect the coupling and the entire power transmission system for any signs of wear or issues.
While it is possible to replace a motor coupling without professional assistance, keep in mind that improper installation or failure to diagnose other underlying issues may lead to further problems. If you are unsure about the process or encounter difficulties during the replacement, it is always best to seek the help of a qualified technician or engineer to ensure a successful and safe coupling replacement.
“`
Explaining the Concept of Backlash and Its Impact on Motor Coupling Performance
Backlash is a critical factor in motor coupling performance and refers to the clearance or play between mating components within the coupling. In the context of motor couplings, it specifically relates to the amount of free movement or angular displacement that occurs when there is a change in direction of the driven shaft without a corresponding immediate change in the driving shaft.
Backlash in motor couplings can occur due to several factors:
- Manufacturing Tolerances: Variations in the manufacturing process can lead to slight clearances between coupling components, introducing backlash.
- Wear and Tear: Over time, the coupling components may experience wear, leading to increased clearance and backlash.
- Misalignment: Improper alignment between the motor and driven equipment shafts can cause additional play in the coupling, resulting in increased backlash.
The impact of backlash on motor coupling performance includes the following:
1. Reduced Accuracy:
Backlash can lead to inaccuracies in motion transmission. When the direction of rotation changes, the free play in the coupling must be taken up before torque can be effectively transmitted. This delay in motion transfer can cause positioning errors and reduced accuracy in applications requiring precise movements.
2. Vibration and Noise:
Excessive backlash can cause vibration and noise during operation. The sudden engagement of the coupling components after a change in direction can create shocks and vibrations that may affect the overall system performance and lead to premature wear of coupling components.
3. Reduced Efficiency:
Backlash results in power loss, especially in applications with frequent changes in direction. The energy required to take up the clearance in the coupling reduces the overall efficiency of power transmission.
4. Wear and Fatigue:
Repeated impacts due to backlash can accelerate wear and fatigue of coupling components, leading to a shorter lifespan and potential coupling failure.
5. Safety Concerns:
In certain applications, particularly those involving heavy machinery or high-speed operations, excessive backlash can pose safety risks. The lack of immediate response to directional changes can affect the control and stability of the equipment.
To mitigate the effects of backlash, it is essential to select motor couplings with low or controlled backlash and to maintain proper alignment during installation. Regular inspection and maintenance can help identify and address any increasing backlash, ensuring the motor coupling operates with optimum performance and reliability.
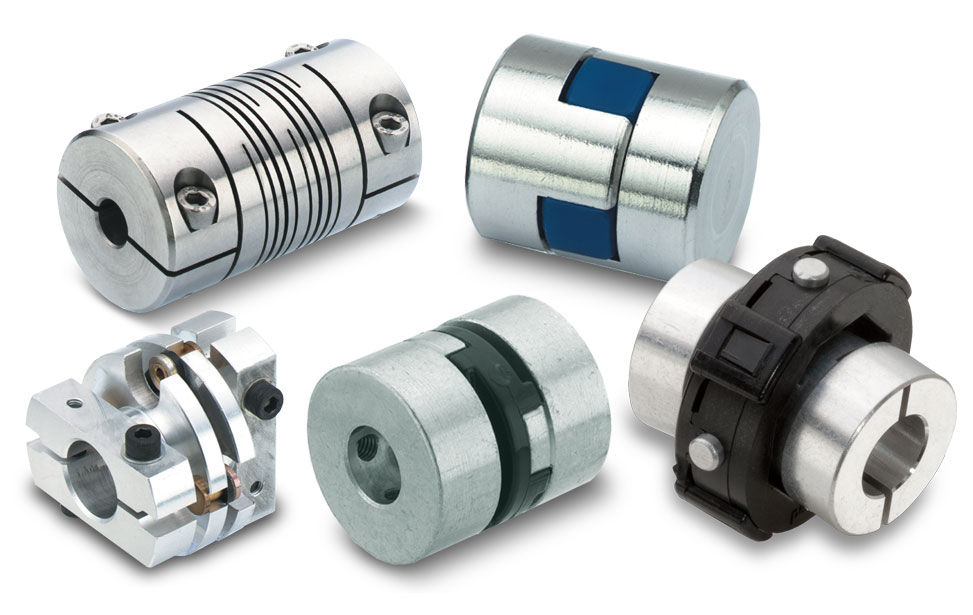
“`
How to Diagnose and Fix Common Issues with Motor Couplings
Diagnosing and fixing common issues with motor couplings is essential to ensure optimal performance and prevent equipment failures. Here are steps to diagnose and address common coupling problems:
1. Visual Inspection:
Perform a visual inspection of the motor coupling regularly. Look for signs of wear, cracks, or any visible damage. Check for proper alignment and coupling installation.
2. Vibration Analysis:
Use vibration analysis to identify abnormal vibrations in the coupling or connected machinery. Excessive vibration can indicate misalignment, damaged coupling elements, or worn components.
3. Check for Misalignment:
Verify the alignment between the motor and driven equipment shafts. Misalignment can lead to coupling failure and increased stress on the machinery. Adjust the alignment if necessary.
4. Listen for Unusual Noises:
Listen for any unusual noises during motor operation, such as rattling or grinding sounds. Unusual noises may indicate a loose coupling or damaged components.
5. Inspect Coupling Fasteners:
Check the tightness of coupling fasteners, such as bolts or set screws. Loose fasteners can lead to misalignment and coupling slippage.
6. Lubrication:
If the coupling requires lubrication, ensure it is adequately lubricated. Lack of lubrication can cause increased friction and wear, leading to premature failure.
7. Replace Damaged Components:
If you find any signs of damage or wear during inspection, replace the damaged coupling elements promptly. This may include replacing elastomeric inserts, worn gear teeth, or other damaged parts.
8. Verify Torque Limiting (if applicable):
If the coupling has torque-limiting features, check that they are functioning correctly. These features protect the motor and equipment from overload situations.
9. Monitor Coupling Performance:
Regularly monitor the coupling’s performance to detect any changes or issues early on. Continuous monitoring can prevent more severe problems and reduce downtime.
10. Seek Professional Help:
If you are unsure about diagnosing or fixing a coupling issue, consider seeking assistance from a qualified technician or engineer.
By conducting regular inspections and addressing any problems promptly, you can extend the lifespan of the motor coupling and maintain the efficiency and reliability of the entire power transmission system.
“`

editor by CX 2023-09-27